
Advanced Camera Settings: Custom Functions and Shortcuts
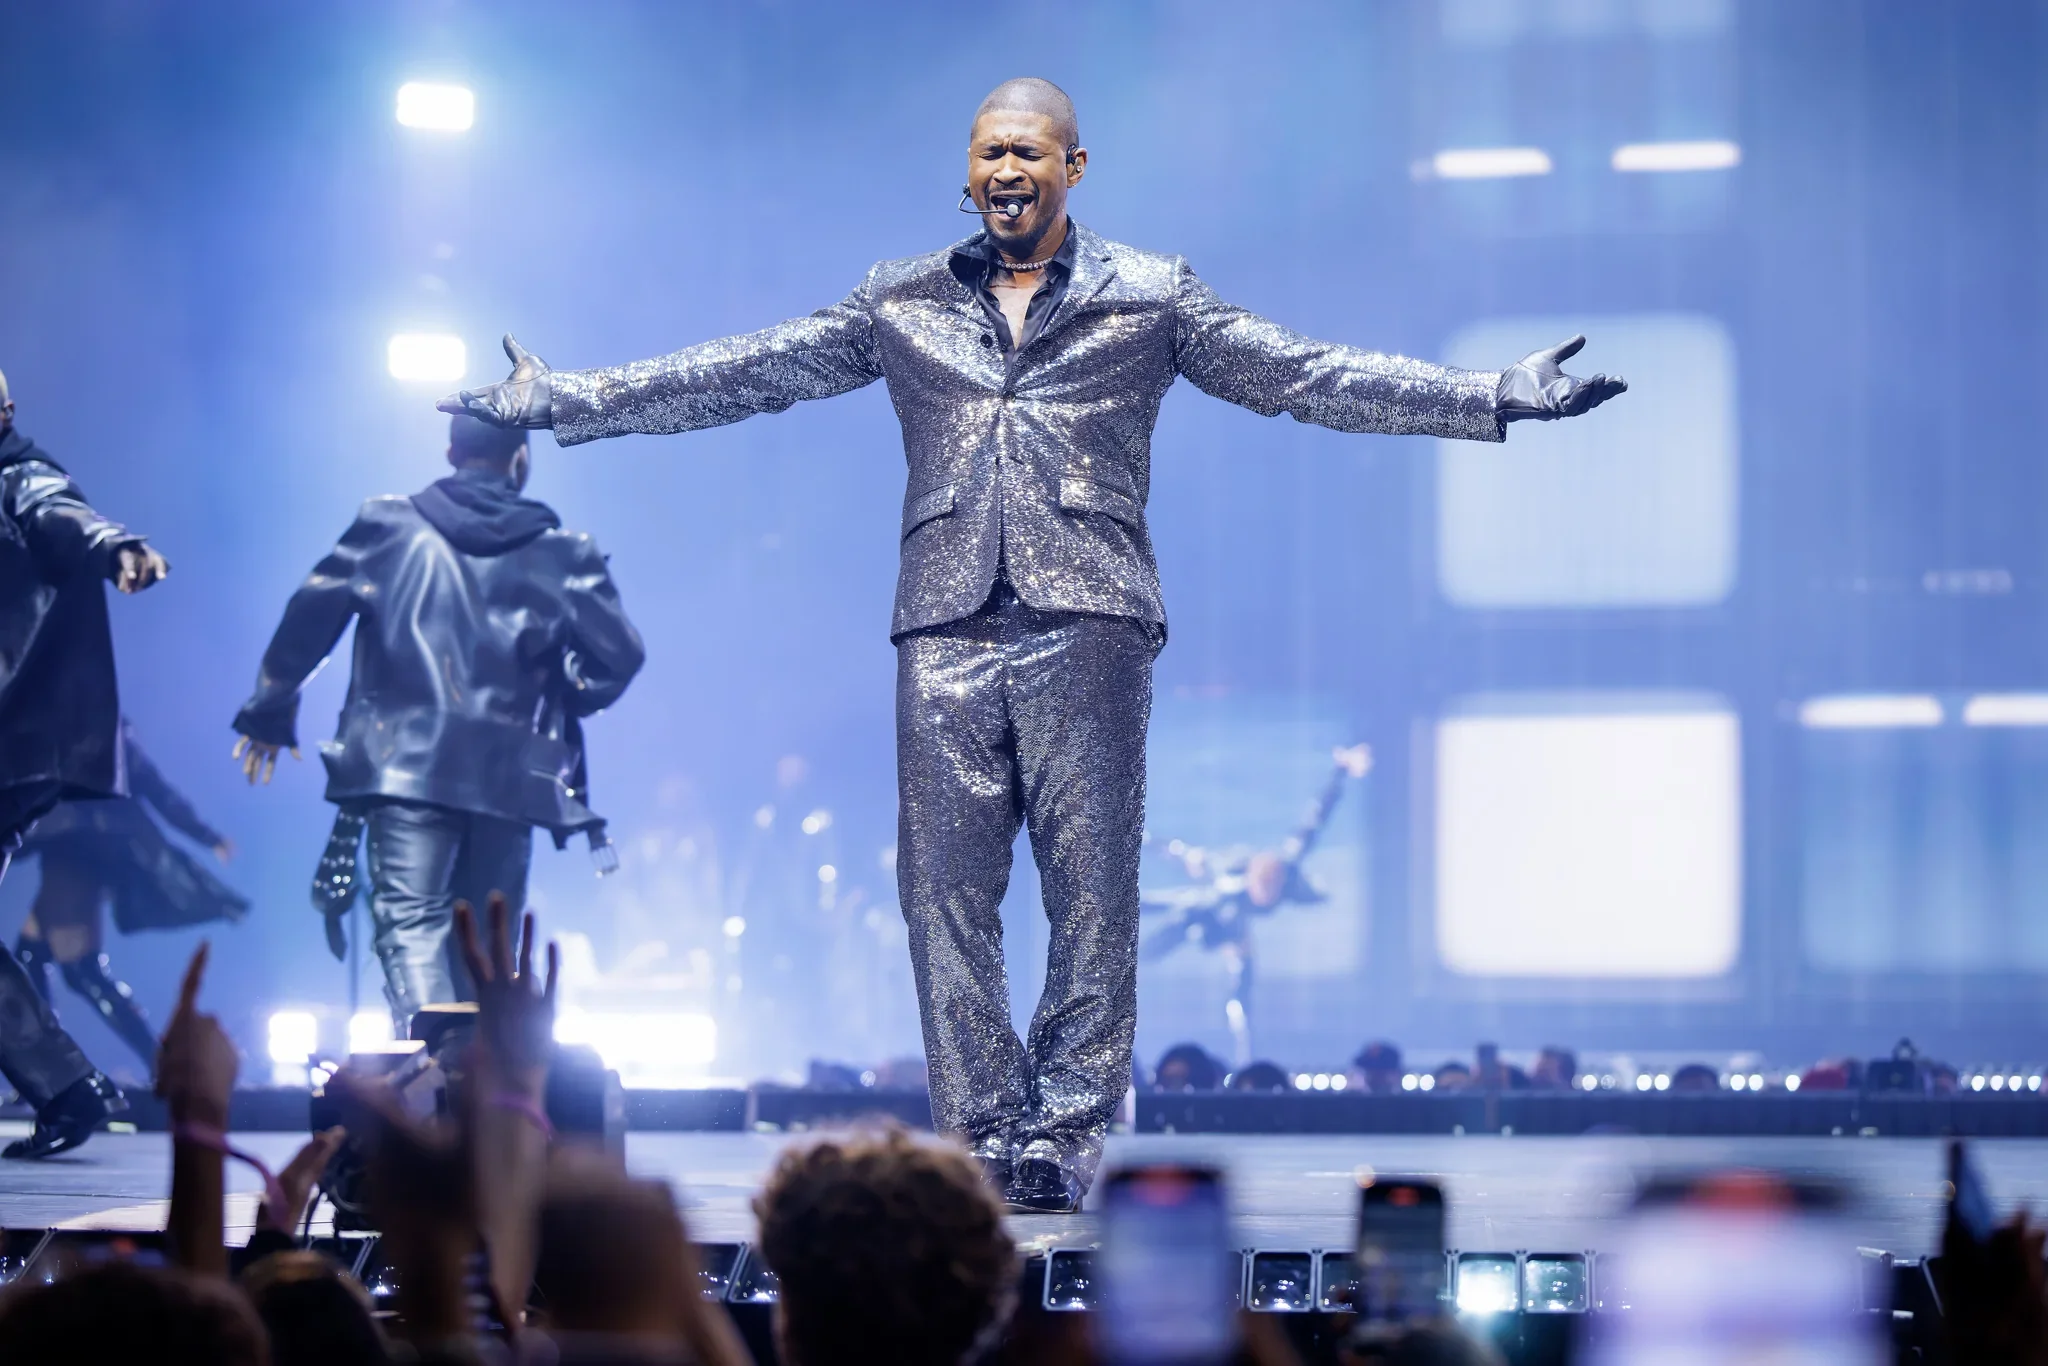
Concert photography demands split-second decisions and lightning-fast adjustments. Mastering your camera’s advanced settings and custom functions can mean the difference between getting the shot and missing the moment.
Custom Function Buttons: Your Quick Access Tools
Every modern camera has programmable buttons that you can customize for instant access to frequently used functions. Here’s how I set up my Canon R5 for concert work:
The * (star) button is programmed for back-button focus—this gives me complete control over when the camera focuses, separate from the shutter release. The AF-ON button serves as my continuous focus activation, perfect for tracking moving subjects.
I program one of the control wheels to adjust ISO directly without diving into menus. In rapidly changing light conditions, being able to spin a dial and instantly change ISO is invaluable. Another wheel controls exposure compensation, allowing me to quickly brighten or darken my shots as stage lighting changes.
My Menu Setup for Speed
Customize your camera’s menu system to prioritize the functions you use most. Create a “My Menu” tab with your most-used settings: ISO settings, white balance, image quality, and custom functions all in one place.
Set up your Quick Control screen to display the settings you adjust most frequently. For concerts, I keep ISO, shutter speed, aperture, white balance, and drive mode visible at all times. This eliminates the need to navigate through multiple menu screens.
Auto ISO: Your Safety Net
Auto ISO is controversial among some photographers, but in concert photography, it can be a lifesaver. Set your Auto ISO range carefully—I typically set mine from 100 to 12,800, with a preference for staying below 6,400 when possible.
The key is setting the minimum shutter speed correctly. For concerts, I usually set this to 1/250s to ensure I can freeze most action. The camera will then adjust ISO automatically to maintain this shutter speed, only going slower if it hits the maximum ISO limit.
Focus Settings for Different Scenarios
Set up different custom modes (C1, C2, C3) for different types of concerts. C1 might be for high-energy rock shows with fast AF tracking and high ISO limits. C2 could be for intimate acoustic performances with single-point focus and lower ISO sensitivity.
For each mode, configure not just exposure settings but also AF area modes, metering patterns, and even different custom button assignments. This allows you to quickly switch your entire camera setup to match the performance style.
Understanding Metering Modes
Spot metering can be incredibly useful in concerts where dramatic lighting creates extreme contrasts. Use it to meter off the performer’s face rather than letting stage lights or dark backgrounds fool your camera’s meter.
Matrix/Evaluative metering works well for more evenly lit performances, while Center-weighted can be good for solo performers where you want to prioritize the center of the frame.
White Balance Strategies
Auto white balance struggles with the rapid color changes typical in concert lighting. Instead, create custom white balance presets for common lighting scenarios: tungsten for warm stage lights, fluorescent for LED systems, and daylight for outdoor festivals.
Some cameras allow you to assign white balance adjustment to a control dial, making it possible to fine-tune color temperature in real-time as lighting changes.
Image Stabilization Settings
If your lens has image stabilization, understand its different modes. Mode 1 is for general use, Mode 2 is for panning (following moving subjects), and some lenses have a Mode 3 for more active stabilization.
For handheld concert shooting, Mode 1 usually works best. If you’re tracking a performer moving across the stage, Mode 2 can help you maintain sharp subjects while allowing background blur to show movement.
File Format and Quality Settings
Shoot RAW+JPEG for concerts where you might need to deliver images quickly. The JPEG gives you something to send immediately if needed, while the RAW file provides full editing flexibility later.
Set your JPEG quality to the highest setting if you’re shooting RAW+JPEG. The storage cost is minimal, and you want those backup JPEGs to be as good as possible.
Memory Card Strategy
Use dual card slots strategically. Set one card for RAW files and another for JPEGs, or configure both cards to record the same files for backup security. In critical concert situations, I prefer the backup approach—losing shots due to card failure is simply not acceptable.
Choose fast memory cards (at least 90MB/s write speed) to keep up with burst shooting in challenging lighting conditions where you might need to bracket exposures quickly.
Battery and Power Management
Modern cameras have power management settings that can extend battery life. Turn off features you don’t need: GPS, Wi-Fi, and unnecessary image review time. Set the LCD brightness to a lower level to save power while still being able to see your images clearly in dark venues.
Always carry spare batteries, and consider a battery grip for longer concerts. The additional bulk is worth the extended shooting time and improved handling with larger lenses.
Silent Shooting Modes
Many mirrorless cameras offer silent shooting modes that can be invaluable during quiet musical passages or acoustic performances. However, be aware that silent modes sometimes have limitations: slower burst rates, potential rolling shutter effects, or restricted ISO ranges.
Test your camera’s silent mode before using it in a critical situation. Some cameras have multiple silent options with different compromises, so choose the one that best fits your shooting style.